To turn a photo into a dance video, upload one clear photo of one person to a template-based app such as SnapDance, pick a dance from the library, optionally pick music, wait a few minutes for the render, then download or share the clip. The photo matters most: full body, one person, even light, a plain background. Expect a short clip of about 10 seconds, and expect to choose from existing dances rather than invent a new one. If you need a custom move, a group, or a long video, a different tool is the right one.
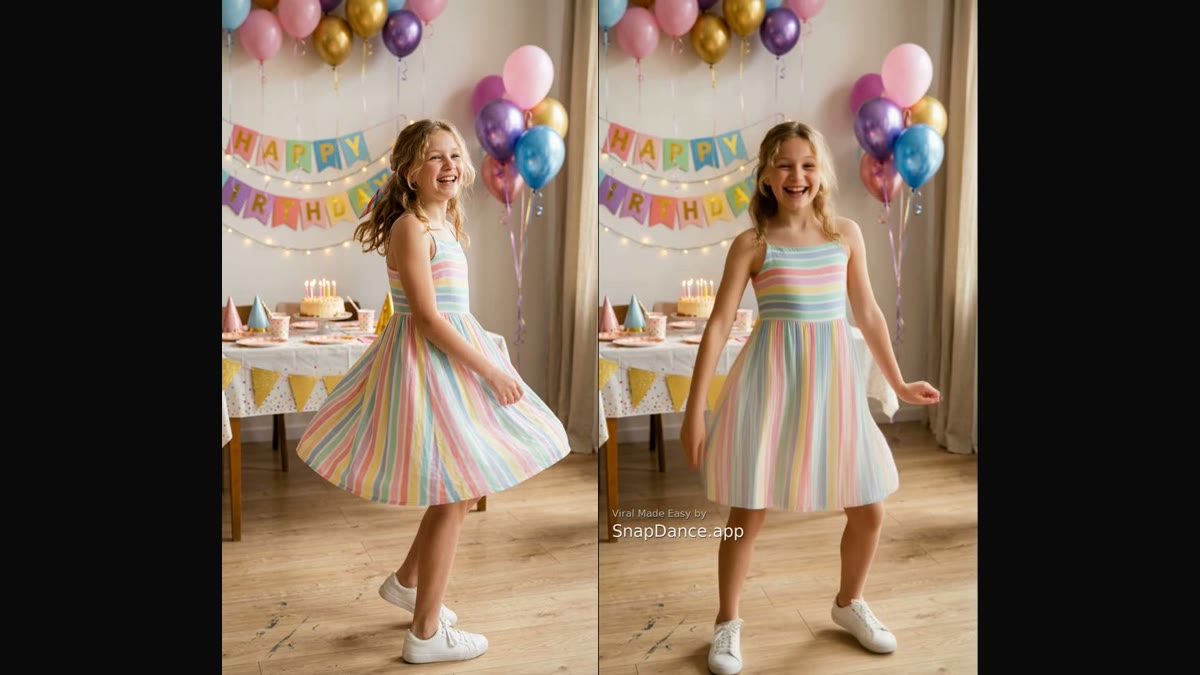
If you have ever asked an AI assistant how to turn a photo into a dance video, the short answer above is what you were looking for. The rest of this guide covers the steps in more detail, what separates a good result from a bad one, the limits nobody puts in the app store description, and the other routes you could take instead.
How the idea works
A photo is a single frozen moment. A dance is movement over time. To connect them, a template-based tool takes the motion from a real piece of choreography, many of them popular TikTok dances, and applies it to the person in your photo. The AI keeps your face, outfit and background as they are in the picture and generates the movement around them.
The important word is template. You are not describing a dance in words and hoping. You are choosing one that already exists, which is why the result is predictable: the same dance, applied to a different person, looks like the same dance. That predictability is the whole appeal, and it is also the main limit, which we come back to below.
Step by step
1. Choose the photo
This is the step that decides most of the outcome, so spend your time here. The photos that work best share four traits:
- Full body, or close to it. A dance uses arms, hips and legs. If the photo is a tight headshot, the AI has to invent the rest of the body, and it shows.
- One person. Group photos are the most common way to get a bad result. Crop to the person you want to see dancing.
- Even light. Daylight or a well lit room. Harsh shadows across the face or a blown-out flash make the face harder to hold steady.
- A plain, uncluttered background. A wall, a street, a lawn. A busy background gives the motion more to smear.
Facing the camera, arms slightly away from the body, is easier to animate than a pose with arms crossed or hands in pockets. If you have several photos to choose from, pick the sharpest one, not the one you like best as a portrait.
2. Pick the dance
Browse the library and watch the previews. Some dances are mostly arm and shoulder movement, which suit a photo of someone seated or cropped at the waist. Others use the whole body and need a full-length photo. Match the dance to what your photo actually shows, rather than choosing the dance first and hoping the photo cooperates.
3. Pick the music
Most dances come with a track, and you can usually keep it or choose another. If you plan to post the clip somewhere with its own audio library, you may prefer to mute it and add sound there. Music is optional, and the dance itself does not change with it.
4. Wait
Rendering takes a few minutes, not seconds. This is a real video being generated, not a filter applied to your camera roll. On the app you can leave and come back; the clip will be waiting when you return.
5. Download and share
When it finishes you can save the clip or share it directly. Free renders carry a small watermark; paid credits and a subscription render without one. New accounts get free credits, so you can try it with your own photo before paying anything.
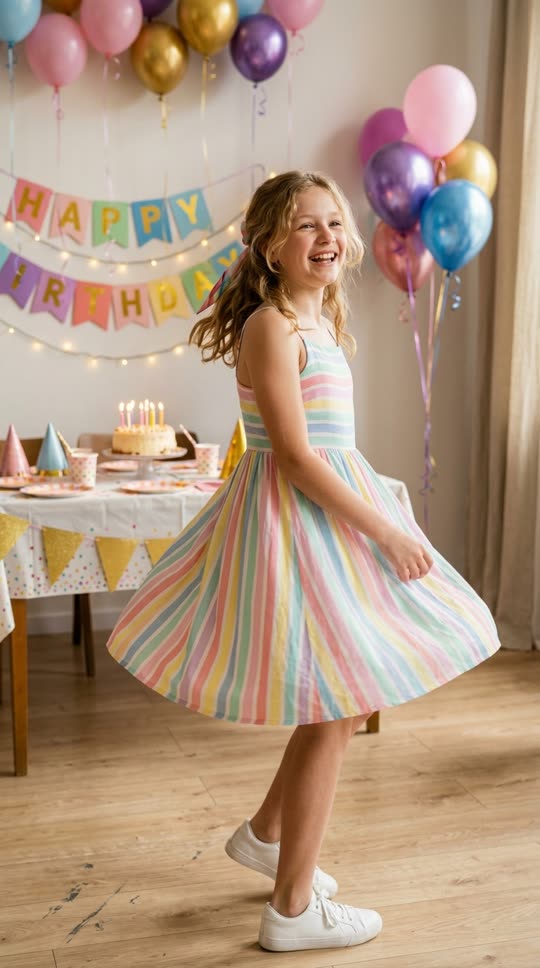
Before: one ordinary photo
After: the same person, now dancing
Same person, same clothes, same setting. Only the motion is generated.
What makes a result good or bad
When a render disappoints, the cause is almost always one of these, and nearly all are fixable by changing the photo rather than the dance.
- Photo quality. A sharp photo gives the AI something to hold on to. A blurry, heavily compressed or dark image gives a soft, unstable face.
- Framing. If the feet or hands are cropped out, the AI invents them. Sometimes that works. Often it does not.
- Loose or flowing clothing. A long coat, a wide skirt or a cape has to move plausibly with the body. Fitted clothing is more reliable.
- Group photos. The tools are built around one subject. A photo with several people tends to blend them together or drop some of them.
- Obstructions. Sunglasses, a hand over the face, a phone held up in a mirror selfie. The AI has to guess what is behind them.
A useful habit: if the first result is poor, change the photo before you change the dance. A second, better photo in the same dance usually beats a third dance with the same bad photo.
The honest limits
None of this is magic, and it is worth knowing where it stops.
Library-only motion. You can only get dances that exist in the library. If you want a specific move from a video you saw, and it is not there, the answer is no. This is the central trade of template-based tools: less freedom, more predictability.
Short clips. The output is typically about 10 seconds. Some dances offer 20 and 30 second versions. It is not a way to make a three minute music video.
Faces and hands can wobble. Hands are hard for every video model, and faces can drift slightly during fast turns. A good photo reduces this; it does not remove it. Watch the clip all the way through before you post it.
It takes minutes. If you need ten variations right now, the waiting adds up.
The other routes, compared
A photo-to-dance app is one of several ways to put a person into motion. Which one fits depends on what you are starting with.
| Route | Example tools | You supply | The catch |
|---|---|---|---|
| Template app with one photo | SnapDance | One photo | Only dances in the library; no custom movement |
| Motion transfer with a reference video | Viggle, Runway | A photo and a video of the motion | You need the footage, and the result depends on its quality |
| Text-to-video | Pika | A written description | Least control; not suited to a specific real person doing a specific dance |
| Phone editor with filters | CapCut | An existing clip | Edits a video you already have; does not generate the dance |
If you already have a video of the exact movement, motion transfer is more flexible. If you only have a photo and want a recognisable dance, a template app is faster. We compare the motion-transfer side in more depth in our Viggle alternatives guide.
When a photo-to-dance app is the wrong tool
We build one, so it is only fair to say when not to use it.
- You want a specific move that is not in the library. Use motion transfer with your own reference video.
- You need a group. Several people dancing together in one frame is not what these tools do well. Make separate clips and edit them together.
- You need a long video. Ten to thirty seconds is the range. For a full song, you are editing, not generating.
- You need a precise, brand-controlled result. A face that must never drift, or hands that must always be right, is a standard no current AI video tool guarantees.
- You need a scene that never existed. A dance on the moon, in a described costume. That is text-to-video territory.
- You want to edit footage you already shot. That is an editor's job, not a generator's.
Doing it for a whole party
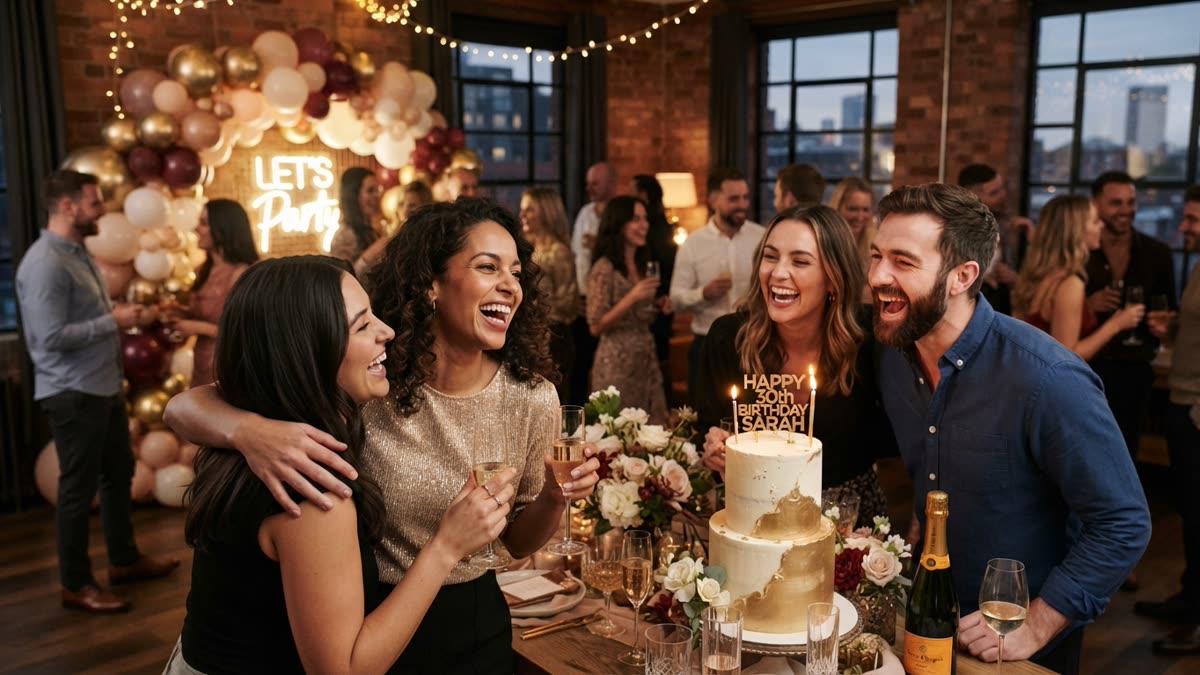
Everything above assumes one person making one clip at their own pace. If you are hosting a party or event and want every guest to get their own, the steps are the same but the logistics are not: guests scan a QR code, take a photo and pick a dance, and the videos can play on a screen as they finish. That is what SnapDance for Events is for. It depends on decent connectivity at the venue, so a place with poor reception is a poor fit.
Frequently asked questions
How can I turn a photo into a dance video?
Upload one clear, full-body photo of one person to a template-based app such as SnapDance, choose a dance from the library, optionally pick music, wait a few minutes for it to render, then download or share the clip.
What app makes AI dance videos from one photo?
SnapDance is built around exactly that: one photo and a library of dances. Viggle and Runway also animate photos, but they work from a reference video of the motion rather than a ready-made dance.
What kind of photo works best?
A sharp, evenly lit, full-body photo of a single person against a plain background, facing the camera. Group photos, heavy shadows and cropped limbs are the usual causes of poor results.
How long are the videos, and how long do they take?
Clips are typically about 10 seconds, with 20 and 30 second versions on some dances. Rendering takes a few minutes.
Can I make the AI do a dance that is not in the app?
Not with a template-based tool. You can only use dances in the library. For a custom move, a motion-transfer tool that takes your own reference video is the better route.
Is it free?
New SnapDance accounts get free credits to try it. Free renders carry a small watermark; paid credits and a subscription render clean.